Donec efficitur, ligula ut lacinia
viverra, lorem lacus.
Loop Lighting Photography: Setup, Tips, and Creative Uses

What is Loop Lighting in Photography?
Loop Lighting Definition and Characteristics
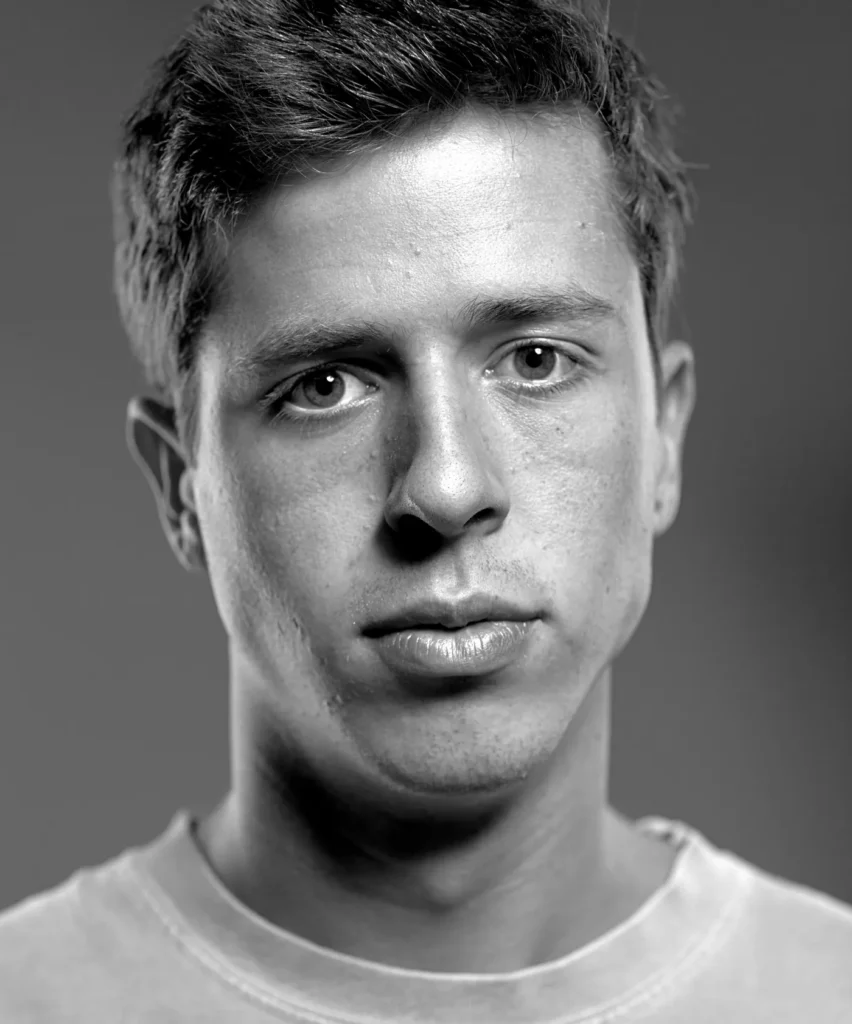
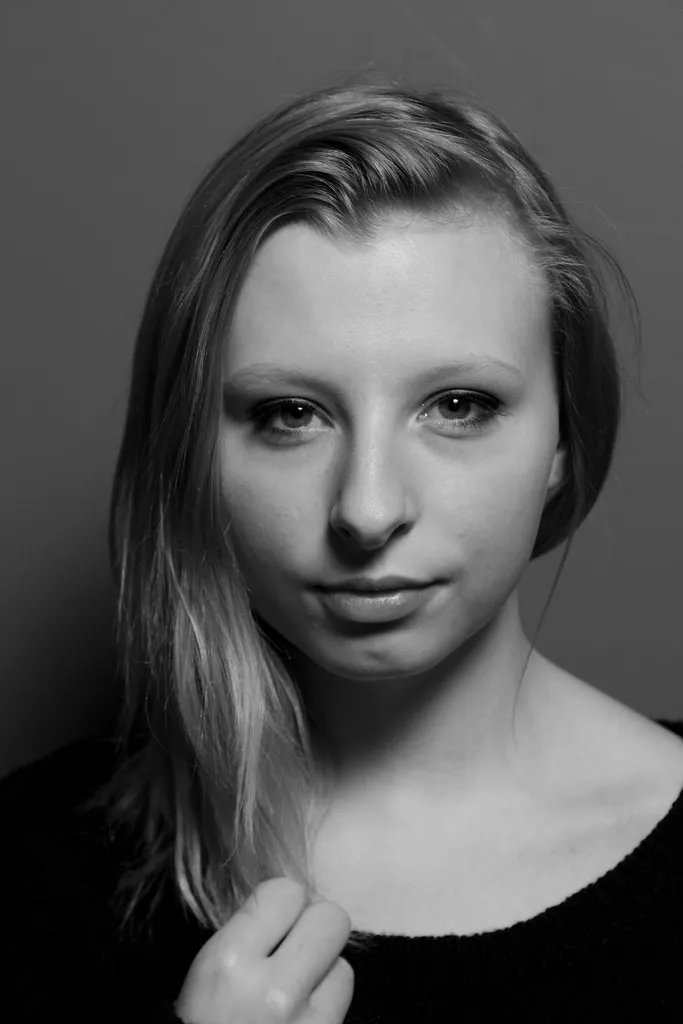
In photography, loop lighting refers to placing your main illumination source at about a 30 to 45-degree angle from the camera for portraits. This setup creates a small, loop-shaped shadow under the subject’s nose. This common style flatters the subject’s face while maintaining a realistic look.
Understanding the Loop Lighting Pattern
Both beginners and pros often use this pattern because of its versatility. Position the illumination source slightly above eye level and to the side of the subject. It will let you achieve a distinct yet subtle shadow on the opposite side of the face. This shadow’s shape is a loop that doesn’t connect with the shadow on the cheek. It is a softer and more subtle way to bring out the model’s chin and cheekbone structure with a three-dimensional effect created by the nose shadow.
What is Loop Lighting Used For?
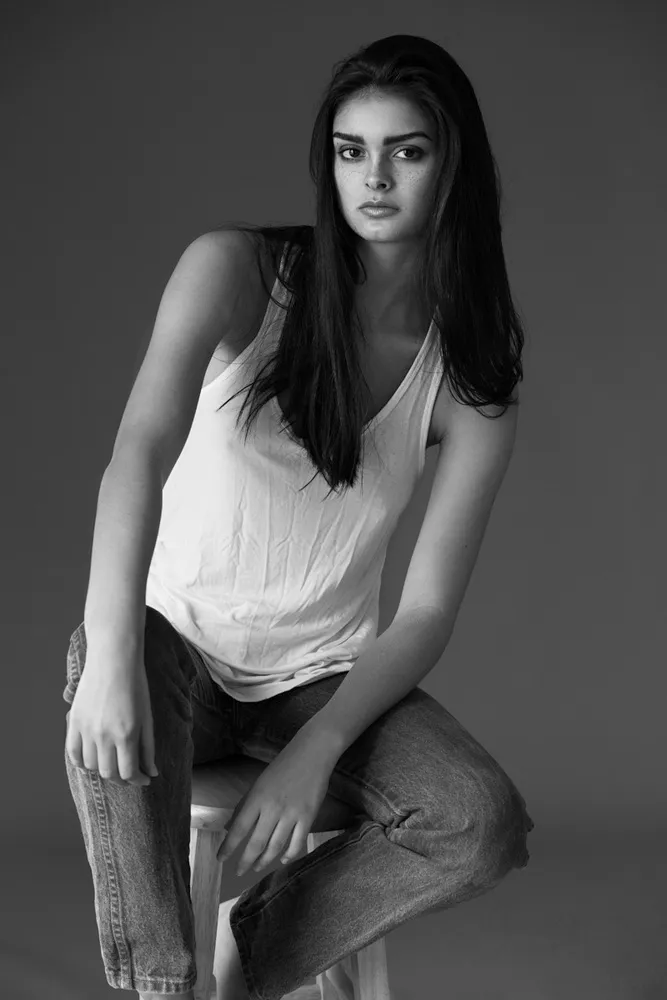
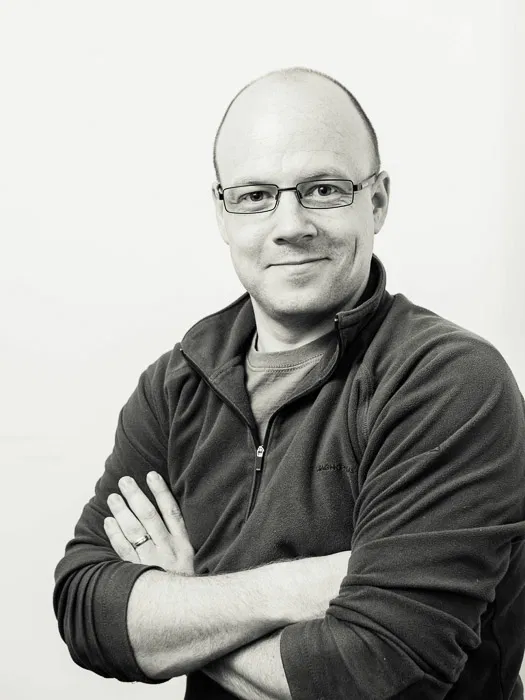
These patterns work for shooting portraits. This type of modeling illumination is one of the most common for headshots, beauty photography, fashion shoots, editorials, and lifestyle pictures. Creating a loop brings out the face’s natural contours, making it look slim. This approach highlights the best features and minimizes imperfections.

How to Create a Loop Lighting Photography Setup
Essential Gear for Loop Lighting Photography
- One of the common illumination setups used in portrait photography begins with a strobe or continuous illumination source. A single source may be sufficient, but using more than one source can help create dimensions and illuminate the background.
- Use modifiers to shape the illumination according to your creative vision and purposes. Each modifier shapes the illumination differently. For instance, softboxes and octaboxes create broad and split illumination. Meanwhile, a beauty dish provides flat, short, and more straightforward illumination. Snoots and flags provide rim illumination.
- A reliable and adjustable stand is necessary to position your gear at the correct height and angle.
- A reflector helps bounce light back onto the subject. It softens shadows and illuminates the areas that might otherwise be too dark. Choose the color of your reflector according to the fill light type you need.
Camera Settings
Adjust your camera settings according to the shooting conditions. Select a portrait lens (50-85mm). You’ve probably been aware that strong illumination requires a lower ISO (100-400) and a narrower aperture (f/5.6 to f/8). Otherwise, the picture might turn out to be overexposed, creating an extra challenge during post-processing.
Set your white balance to match the desired color temperature. The “Daylight” setting (around 5500K) is a good starting point for studio conditions. However, manual customization may be required to ensure accurate color representation.
A shutter speed should be set between 1/125 and 1/250 seconds. This speed is fast enough to eliminate motion blur if the subject moves slightly. It works well with the flash synchronization of most studio setups. Use Single-Point Autofocus (AF) on the model’s eyes. Many modern cameras adjust this parameter automatically.
Step-by-Step Guide to Loop Lighting Setup
- Move your key illumination source at 30- to 45-degree from the camera, right above the subject’s eye line.
- Locate your modifier close enough to the subject. Put a grid on your modifier to illuminate your subject evenly.
- Place a second illumination source opposite the primary one. It should be around 45 degrees from the subject on the other side. It is traditionally put behind the camera or slightly to the side to illuminate the eye opposite the main illumination source.
- Position a reflector just out of frame, side to side, to ensure your subject is lit. This trick is especially useful if the shadows created by your modifier on the side of the face opposite the illumination source are too strong.
- Adjust the distance between the model and the illumination source depending on the effect you want.
Review and readjust your loop light setup. Take a few test shots and review the pictures. Adjust the setup position, height, and distance as needed.
Loop Lighting Portrait Photography Tips
Why Loop Lighting Photography Is Ideal for Portraits
This pattern enhances the models’ features without distorting them. The soft, oval-shaped shadow under the nose adds dimension to the face. The triangle of light on the cheek also defines the facial structure, making the image more aesthetically appealing. It is a versatile technique that can be catered to various moods and styles.
Loop Lighting Portrait Photography Techniques
The shape of your model’s face will dictate how you should position your setup. For round faces, place the off-camera illumination slightly higher to add dimension. In contrast, lower positioning can soften angular faces. Ensure the illumination casts a small oval shadow under the nose without letting it touch the shadow on the side of the face closest to the camera.
Consider your model’s skin tone. For lighter skin, use a diffuser to avoid overexposure. A dark background will make the face pop out. For darker skin tones, ensure the picture is bright enough. The facial features should be properly highlighted. Avoid excessive contrasts.
Please ensure you see a reflection in the upper part of the eye on the side of the face closest to the camera. This reflection is also called catchlight. This loop portrait lighting trick makes your pictures more engaging and lively.
The way your model poses can significantly impact the final results. Encourage them to slightly turn their head towards the illumination source to accentuate their face. Small adjustments in their head tilt or chin position can turn an average shot into a masterpiece.

Creative Uses of Loop Lighting in Photography
Loop Lighting Examples: Inspiration and Ideas
Historic archives preserved Winston Churchill’s defiant expression during World War II in many photos. The portrait by Yousuf Karsh is the most famous one. It is one of the most popular loop lighting photography examples. The photographer positioned the main illumination source at a 30-degree angle from the camera, slightly above the Prime Minister’s eye level. The small shadow under the British leader’s nose emphasized his strong, resolute features without casting overly harsh shadows.
Another loop-lighting example is the portrait of John Lennon and his wife, Yoko Ono, by Annie Leibovitz. The celebrity photographer captured the moment of intimacy between the legendary musician and his wife shortly before his death. The skin texture is highlighted, providing a gentle shadow under Lennon’s nose and on his cheek. It introduced context and added depth, conveying the message of emotional connection between the spouses.
These are examples of using the same technique for completely opposite effects. While Yousuf Karsh wanted to highlight the strength and resistibility of a historic figure facing the challenges of the war, Annie Leibovitz emphasized the tenderness and vulnerability of two loving people. Loop photography lighting worked perfectly in both cases, which proves its creative versatility.
Combining Different Techniques
Pairing looping with backlighting can create a halo effect around the subject. This approach makes the final image more ethereal and dramatic. Photography tutorials recommend this combination for fashion or conceptual photography.
Experiment with color gels. For example, a warm gel can create a cozy, intimate atmosphere, while a cooler gel might evoke a more mysterious or futuristic feel. Enhance the model’s facial features while infusing your scene with color splashes.
You can also experiment with other illumination patterns. For instance, the Rembrandt lighting, named after the famous painter Rembrandt, can create an interesting interplay of shadows and highlights when combined with the loop illumination. This combination adds depth to your shots and grabs the viewers’ attention with striking contrasts.
Common Mistakes to Avoid
- Wrong positioning. Positioning the setup too low or far to the side leads to shadow disbalance. Avoid placing the illumination too close to the subject without adjusting the power. Hard shadows detract from the natural look.
- A busy or poorly lit background can distract from the subject and interfere with the effect of the illumination pattern.
- Ignoring the catchlight leads to dull and lifeless eyes, destroying the potential visual appeal of your shot.
- Lack of practice. Learn lighting techniques and patterns and apply them in your work. Regular practice will help you anticipate potential issues and refine your approach, leading to more consistent and professional results.

Conclusion
This portrait photography technique is accessible to photographers of all skill levels. It combines simplicity and versatility. It can be applied in various scenarios, from traditional studio settings to more creative or editorial shoots.
Adding this tool to your creative arsenal effectively flatters various face shapes and skin shades. Proper illumination adds depth and dimension to your portraits. It makes your shots more engaging and visually appealing.
Loop lighting can be a strong foundation for more complex studio setups. Combining it with other techniques lets photographers achieve more dynamic and intricate effects.
FAQ
What Is the Loop Lighting Photography Definition? How Does It Differ from Other Patterns?
Loop lighting creates a small, loop-shaped shadow on the model’s face. The illumination source forms a sharp angle with a camera and is located slightly above the model’s eye line. While Rembrandt lighting produces a more pronounced triangle of light on the cheek and butterfly lighting centers the light above the subject to create a shadow directly under the nose, loop lighting creates soft shadows for a naturally flattering look.
How Do I Set Up Loop Lighting?
Position your illumination source at a 30 to 45-degree angle from your camera. Fine-tune its height and distance to the model to control the shadows. Use modifiers to illuminate the face evenly. Experiment with test shots to find the ideal setup.
What Equipment Do I Need for a Setup?
Except for a properly adjusted camera and a portrait lens, you will need:
1. Illumination sources.
2. Modifiers.
3. Reflectors.
4. Stabilization gear.
When Should I Use This Technique in My Photography Sessions?
Use it in professional headshots and beauty photography. This technique can also effectively enhance your fine art shots and conceptual creative projects aiming to convey the idea of balance.
Can You Provide Examples of Effective Usage of This Pattern in Portrait Photography?
In Steve McCurry’s portrait of Sharbat Gula, widely known as the “Afghan Girl,” loop lighting guides the viewers’ attention to the girl’s big green eyes. The soft, diffused light positioned at an angle above and to the side of the camera creates a distinctive loop shadow under Gula’s nose. It emphasizes the face contours and highlights the intensity of the girl’s gaze, conveying the idea of bravery and resilience.