Donec efficitur, ligula ut lacinia
viverra, lorem lacus.
Foreground in Photography: Definition, Tips, and Techniques
What is the Foreground in Photography?
Foreground Photography Definition
In photography, the foreground refers to the part of the image closest to the viewer. Photographers use it to guide the viewer’s eye to the central part of the scene.
What is the Foreground of a Picture?
The foreground of a picture is the area that appears nearest to the observer. Photographers use it to create a sense of depth and dimension within the image. The foreground includes various elements to integrate the viewers into the scene.
Compositional elements like trees, mountain ranges, intricate flowers, or people can be the anchors, drawing viewers’ attention to the most important parts of the visual narrative within your frame.
Why Foreground Matters in Photography
Photographers can establish a clear focal point by incorporating a strong forefront subject. Directing the view through the different layers of the photograph is paramount to focus the viewer’s attention on the most significant elements of your visual story.
Using the foreground effectively can add layers of meaning to your shots. By carefully manipulating the distance between the foreground and background, you can add a sense to your pictures. This technique is particularly popular among portrait and landscape photographers. A strong front layer can turn two-dimensional pics into an impactful and relatable experience.

Common Forepart Elements of the Image
Foreground Elements: What They Are and How to Use Them
The photo’s foreground element is an object that appears in your image to draw the viewer’s attention wherever you want it to be. In other words, it is the composition’s anchor, used to create depth and convey the message more effectively.
Consider how front elements integrate with other parts of your picture. Do not neglect light and shadow. Properly adjusted lighting can enhance textures, highlight details, and create contrasts. For instance, soft, diffused light might bring out subtle textures in a forefront element, while harsher, direct light can create strong shadows and highlights that add drama and depth.
How to Use Foreground Elements to Add Depth to the Image
Consider the spatial relationship between the foreground, middle ground, and background. Place your objects at varying distances from the camera for a layered effect. Consider the scale and placement of your front elements to enhance this sense of depth. Larger objects in the front part naturally draw more attention. They make the background appear far away, creating an expansive feel.
Varying the distance between elements can create a more dynamic and engaging composition. Consciously arrange the elements within your frame. It can help you bridge the gap between the front part and the rest of the image.
Popular Elements of Foreground: Texture, Color, and Shape
Texture can give a photograph a tactile quality, making it feel more real and inviting. For example, the rough surface of a rock, the intricate details of a leaf, or a butterfly’s wings can make people linger in the image.
The properly chosen color palette can change the mood and tone of the photograph. A vibrant forepart color can create a striking contrast with the middle ground and background, making the front part of the scene the center of attention. Conversely, muted tones can create a more harmonious and balanced composition. They help convey fragility and intricacy.
Jagged rocks, tree branches, or architectural features unite the front part of your shots with the rest, letting you achieve a balanced and cohesive look. Interesting shapes are essential for deep, multilayered visuals. Winding paths, angular structures, or flowing water can help to encapsulate the viewer’s experience. The form and arrangement of these shapes can help you create a sense of balance or tension, depending on the genre and style of photography they are used for.

How to Use Foreground in Photography
Techniques for Effective Foreground Photography
Adjust your camera’s aperture settings. It will let you control the depth of field. Landscape photographers prioritize a narrow aperture because it allows them to preserve important details. Both front part and background remain in sharp focus.
Meanwhile, using a shallow depth of field allows you to blur the background. The foreground element becomes the focal point. A wide aperture is preferable in portrait photography. It creates a dreamy bokeh effect, attracting attention to the model’s face.
You can also explore various angles and perspectives. The angle of view can dramatically alter how the photo’s elements are perceived. A low angle can make a front element appear larger and more dominant. Low angles serve to bridge the gap between different layers. This perspective guides the gaze naturally from the foreground to the middle ground and background. Many photographers use low angles when they want their audience to move from one subject to another in a linear sequence instead of sticking to one element. For instance, in landscape photography, low angles are used for a sense of scale, leading the audience toward the horizon.
Creating Foreground Photos with Leading Lines
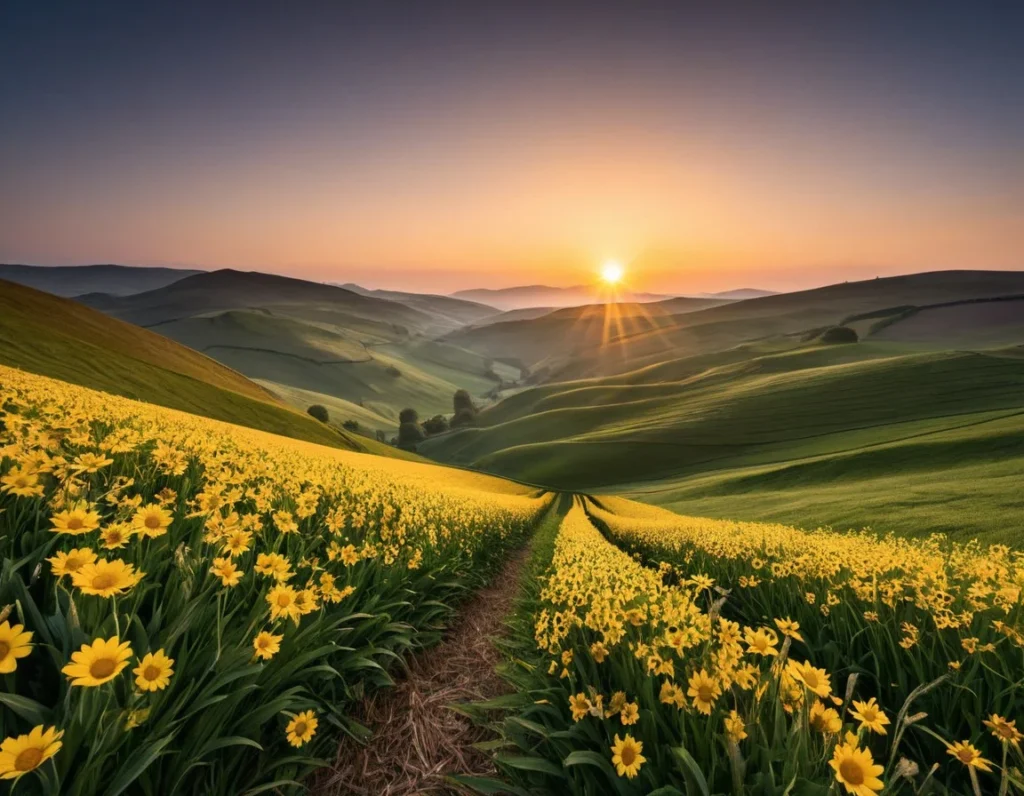
One of the most effective ways to use foreground elements is to incorporate leading lines. They drive the viewer’s eye from one object to another. Trees, archways, fences, shorelines—seek horizontal and vertical lines at the scene and use them to lead the gaze. This approach can add an artistic touch to casual snapshots. This technique is particularly useful when you want to create a strong visual journey within the photograph. It lets people explore different parts of an image step by step.
To use leading lines effectively, consider their direction and placement within the frame. Diagonal lines tend to create a dynamic and engaging flow. Horizontal lines can add stability and calmness to the composition. The lines should complement the overall structure for a balanced composition.
Creating a Frame with Foreground Elements
Create a natural border around the key subject. Creative framing can be performed using trees, archways, or even out-of-focus elements that appear close to the camera. This approach encapsulates the subject, providing a sense of place.
A portrait framed by foliage suggests a natural environment. A subject framed by architectural elements like a doorway or window can convey a more urban or structured setting. These clues about the context of the subjects’ environment can significantly enhance the visual narrative.

Strong Foreground in Landscape Images
Using Foreground to Enhance Landscape Photos
Landscape pictures should be visually appealing and full of details. Use natural elements like rocks, flowers, and water features as points of interest. Utilize visual anchors to ground the image and give your audience a starting point to explore the scene. A solitary tree or a unique rock formation can be a strong focal point.
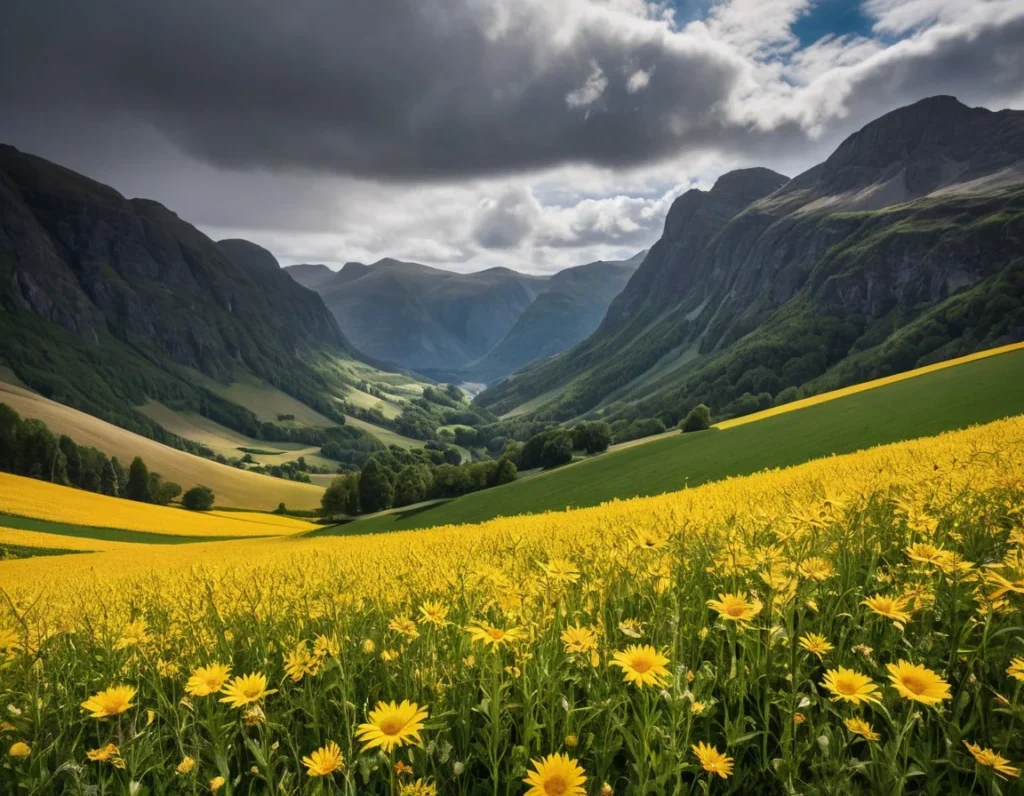
Consider a photograph of a mountain range with a field of wildflowers in the front part. The flowers’ vibrancy creates a path towards the towering mountains in the distance. It adds a sense of scale and perspective, making the in-focus element more immersive.
Let’s take a coastal scene where rugged rocks in the forefront vividly contrast with smooth water surfaces. The texture and solidity of the stones are a visual anchor guiding the audience to the tranquility of water. The soft, distant horizon adds a sense of space to the composition.
How to Create Dynamic Foreground Pictures in Nature
Pay attention to changes in weather and lighting conditions. Learn to manipulate natural light. Catch golden hours to enhance the forefront elements with a warm golden glow. This will highlight colors and textures, making your shot more captivating and dynamic. Meanwhile, overcast conditions can create diffused light that reduces harsh shadows. These conditions can be useful for balanced and harmonized landscape pictures.
Consider adding motion to your photos. The movement of water in a stream, grasses swaying in the wind, or clouds drifting across the sky can make your photographs more emotionally appealing and energetic. Use a slower shutter speed. It will let you create a sense of flow in the forefront part. This flow will contrast with the stillness of the middle ground and background. This multilayered concept is used to create visual interest.
Examples of Effective Foreground in Landscape Photography
“Clearing Winter Storm” by Ansel Adams catches the viewer’s eye with snow-covered rocks and trees in the front. These textured and detailed elements guide the audience toward the Yosemite Valley, making it appear even more majestic. The contrast of foreground and background textures integrates viewers into this dramatic landscape, making this artwork emotionally evoking and relatable.
Galen Rowell uses colorful Tibetan prayer flags fluttering in the wind in his “Rainbow Over the Potala Palace.” These flags serve as colorful attention grabbers and provide an additional cultural context. They encapsulate the spiritual and cultural significance of the location, framed by a stunning rainbow.
Yan Zhang includes a series of rocks and wildflowers as the forepart of his “Twilight at Mount Assiniboine.” The soft light of the setting sun enhances the color contrast, making the mount appear more massive and serene. The color palette makes this photo tangible and inviting.

Perfect Foreground in Portrait Photography
The Use of Foreground in Portraits
Forepart elements are used in portraits to enhance the overall narrative. They provide intimacy and establish an emotional connection between the model and the viewers. A softly blurred object in the forepart can frame the subject and add layers for a more visually appealing portrait. Ensure the forepart elements complement the main subject instead of competing with it. You can use something as simple as a branch, a piece of furniture, or even an object that relates to the subject’s personality or environment. Highlight your model’s features and expressions. Add more details to the story you want to tell with the portrait.
Forefront Elements in Portrait Photography
The effective forepart elements for portraits range from natural surroundings, like foliage or flowers, to more structured objects, such as doorways, windows, or even everyday items the model interacts with.
A musician might be framed by the blurred outline of an instrument, or an artist could be partially obscured by their easel. These elements add context to the portrait. The viewers can familiarize themselves with the model’s personality through the prism of the things they love.
Filling the Frame: Compositional Foreground Techniques for Portraits
Filling the frame involves bringing objects close to the camera lens. The objects occupy a significant part of the frame, but the model stays in focus. This technique can be particularly effective in crowded or busy environments. It can effectively isolate the subject from distractions. Filling the frame with carefully chosen foreground elements conveys a mood or atmosphere, whether it is a sense of privacy, intrigue, or connection to the environment.

Tips for Mastering Foreground Photography
Focus Techniques for Capturing the Foreground of an Image
Prioritize manual focus over autofocus. It is especially important for complex scenes, where the forepart is crucial. Control which parts of the composition are the sharpest. Ensure the foremost part of the scene stands out.
Adjust the background according to your creative goals. Crisp backgrounds work for landscapes to maintain intricate details. In portrait photography, the intentionally blurred background can focus attention on the model’s face.
Combine multiple shots with various focal points in your photo editing software. This technique is called focus stacking, and it keeps both the front and back parts of your shot equally sharp and has a greater depth of field. It can be especially beneficial for landscape photography. Utilize focus stacking when shooting scenes with the foreground elements close to the camera. It will let you maintain clarity throughout the entire image.
Exposure and Contrast for a Foreground Picture
Balance the exposure for the scenes with a strong front part. Ensure the forefront elements are neither too light nor too dark. The exposure compensation feature ensures the frontal elements are well-lit without overexposing the background.
Bracketing can be helpful for landscape photography with unpredictable lighting conditions. It will let you prevent excessive contrasts. This technique helps to retain detail in both the shadows and highlights. Ensure no element is lost in the shadows or blown out by the excessive light.
The Rule of Thirds for Composing a Foreground Photo
Divide your frame into nine equal sections with two horizontal and two vertical lines. Place your forepart elements along these lines or at their intersections for an appealing and well-balanced composition. Placing the forefront objects at the line interactions ensures that the viewer’s attention is directed toward both the foreground and the other areas of the image.
For instance, placing a prominent rock or flower at one of these intersections can lead the eye from the foreground to the layers of the landscape shot.
Conclusion
This article explored various strategies for effectively incorporating front-end elements into compositions. In landscape photography, elements like rocks, water, or vegetation can add scale and draw the viewer into the scene. In portrait photography, front-end elements can frame your subject, adding context and emotional depth.
Applying these techniques can take your photography to the next level. Mastering foreground photography opens up new creative possibilities, allowing you to craft more compelling and immersive visuals.
FAQ
What Is the Foreground of an Image, and Why Is It Important?
The foreground of an image refers to the part of the scene closest to the camera, which means it is also the closest to the viewer. A foreground establishes a connection between the viewer and the subject. In landscape photography, a well-chosen front element can create a sense of place and scale. In portrait photography, the foreground is used to add emotional depth and context.
How Can I Effectively Use Forepart Elements when Capturing Landscapes?
Identify the forepart elements. These can be natural or artificial objects. They should add interest and context to the scene. Position them at the bottom of the frame. Ensure they guide the viewer’s eye. Think about the relationship between different parts of your shot. Adjust lighting and focus to prevent losing the most important details.
What Are Some Common Techniques for Enhancing the Forepart in Photos?
A wide-angle lens exaggerates the size of the foreground relative to the background. Selective focusing keeps the front elements sharp while the background is softly blurred. Pay attention to the exposure and contrast settings. Utilize basic compositional techniques like the rule of thirds, leading lines, and natural framing.
How Does the Foreground Impact the Photography Composition?
The foreground is the starting point for the viewer’s visual journey through the photograph, leading their gaze toward the key subject or focal point. A well-composed foreground can help balance the image. It creates harmony between different elements and provides context or narrative.
How to Create a Sense of Scale in My Photos with Forefront Elements?
Include objects of known size—such as a person, a tree, or a building—in the front part. It will give your audience a reference point that makes the background appear larger or more distant. Use a wide-angle lens to make the front elements look more prominent. This approach is especially effective for vast scenes and expansive backdrops.
What Are the Best Tips for Creating Compelling Foreground Photos?
- Select strong and impactful elements. Mind their colors, textures, and shapes.
- Adjust the depth of field according to your creative intents, and pay attention to the lighting conditions.
- Compose your image thoughtfully and try different angles and perspectives.