Donec efficitur, ligula ut lacinia
viverra, lorem lacus.
Hard Light Photography: Mastering Techniques and Tips
Understanding Hard Light Photography
Hard Light Photography Definition
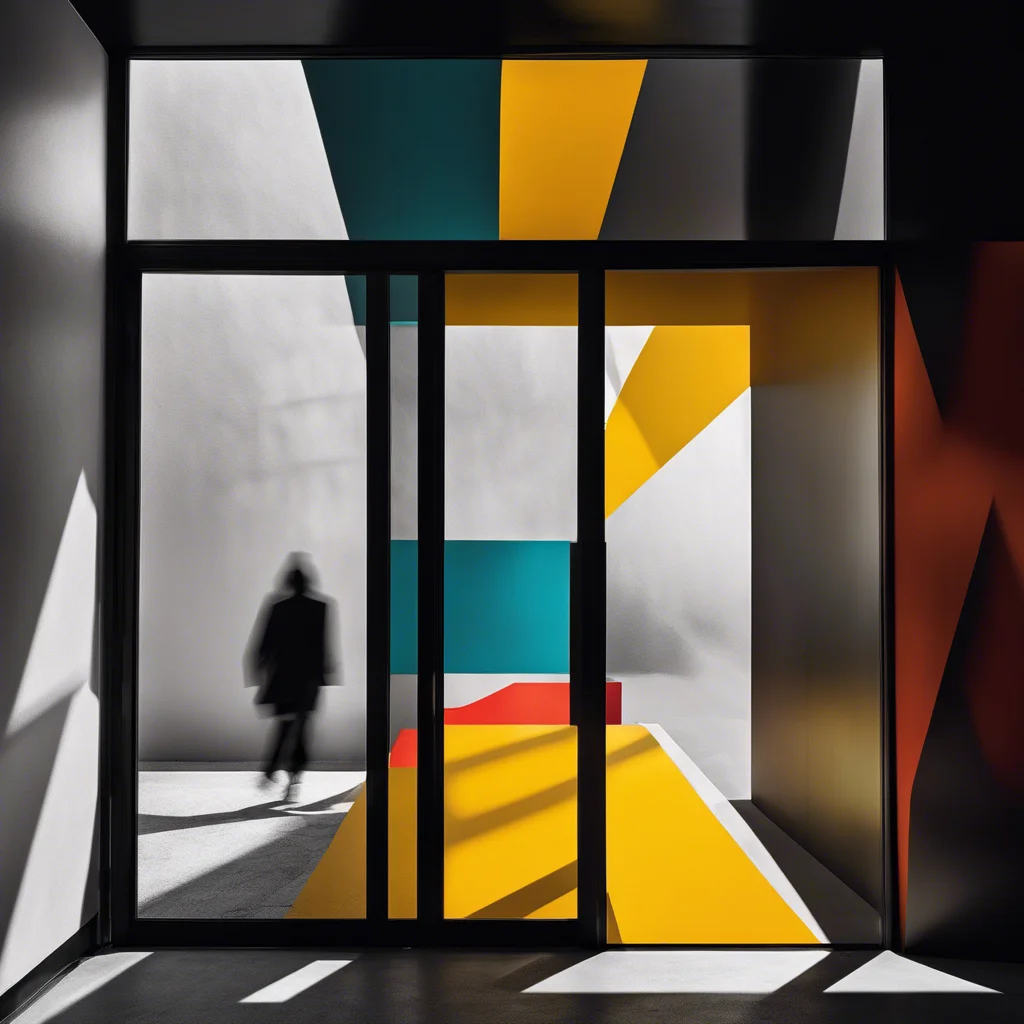
Hard light is direct light that casts sharp, strong shadows and creates a high contrast. It comes from a small or focused illumination source—the sun, a flash, or a bare bulb.
How Does Hard Lighting Photography Work?
A small illumination source relative to the subject should be positioned at a greater distance. It produces high-contrast photography with hard, crisp, and distinct shadows. When a larger, diffused source is used, the light wraps around the subject more evenly. It allows photographers to soften harsh shadows. Hard light, on the other hand, accentuates textures and edges. It is used to create beautiful shots with a dramatic mood.
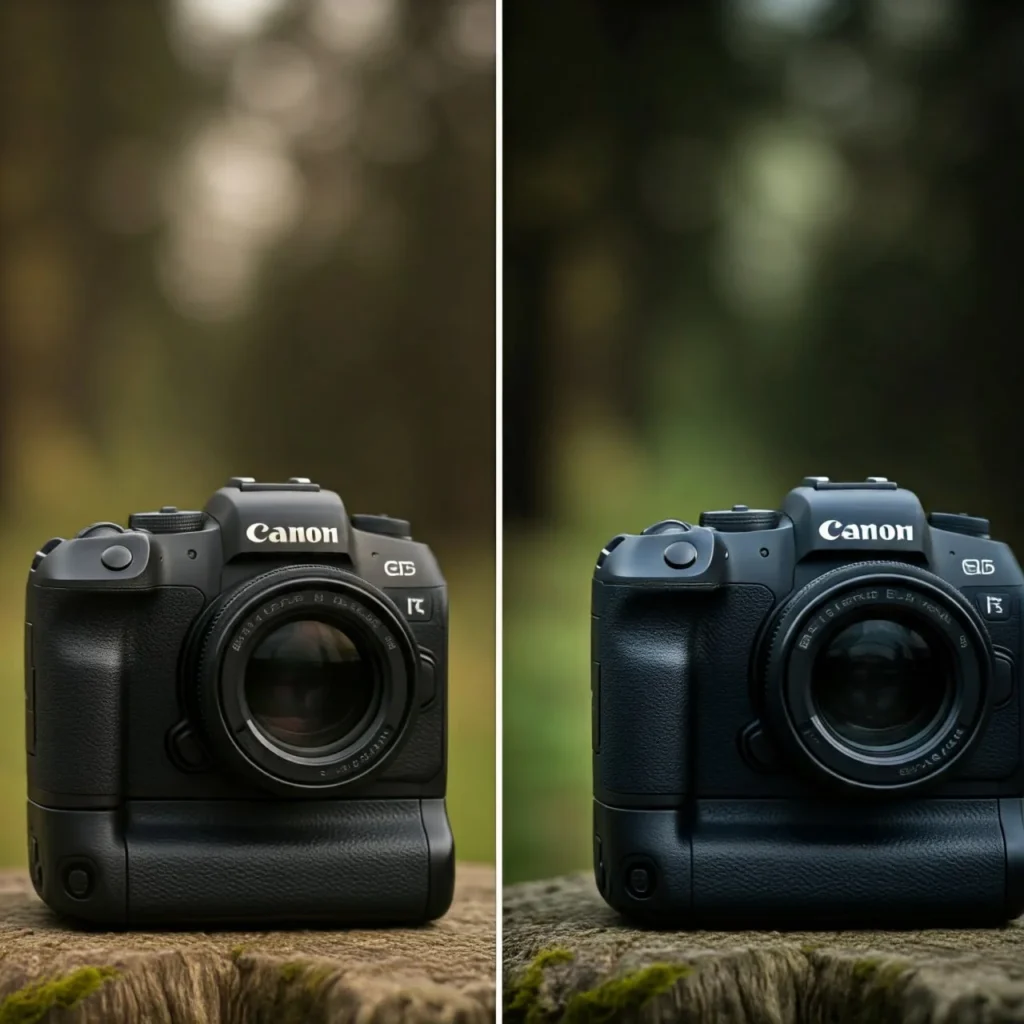
Key Differences between Hard Light and Soft Light
The main difference between the two concepts is the size of the illumination source used and the transition from highlights to shadows it provides. Knowing how to manipulate illumination, you can achieve different effects.
The main factor defining hard light is the abrupt transition between lighter and darker areas. Harder shadows and sharper contrasts effectively accentuate the roughness of surfaces. It can help you bring out details in subjects like stone, metal, or aged skin.
Meanwhile, gradually changing highlights and shadows are optimal for flattering portraits. If you want to showcase your model’s beauty, the lighting should be softer. If you need a clean, professional, and inviting look, like in newsletters, soft illumination is also preferable.
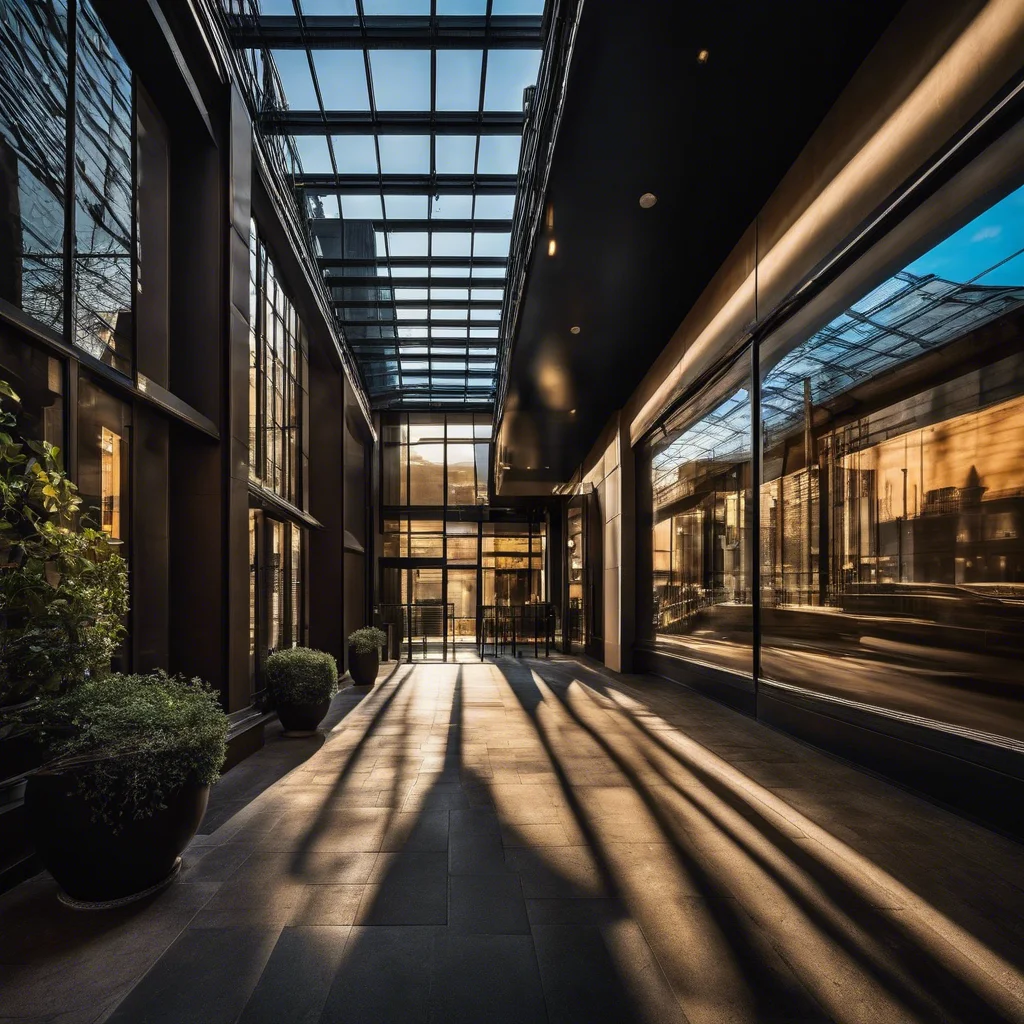
How to Create Hard Light Photos
Essential Equipment
Use a small, focused illumination source. It could be a bare flash, a direct spotlight, or natural sunlight. Ensure the illumination is direct and concentrated.
Tools like snoots or barn doors can help control and direct the illumination. To ensure your gear is in place, use a tripod and a strand.
Adjust your camera settings to accommodate hard shooting conditions. Use a low ISO, narrow aperture, and fast shutter speed to prevent overexposure.
Setting Up: Essential Recommendations for Studio and Outdoor Photoshoots
When shooting indoors, position the illumination source close to your subject. Moving it farther away still lets you produce hard illumination, but you don’t get clearly defined shadows in this case. Use a portable source to adjust the distance and position easily. Be mindful of the ceiling and other surroundings. If you want a more intense focus on textures, direct the source straight to your subject. Adjust your studio lighting setup to see how varying distances and angles affect the image.
The sun is your primary helper in outdoor shooting. Prioritize shooting at noon, when the sun is huge and located directly over the subject. If there are clouds in the sky, they can work as diffusers. In this case, utilize portable reflectors to bounce the light back. If the sun is not direct and partially obscured, readjust your setup accordingly.
Manipulating Highlights and Shadows
Position your illumination source to cast shadows across different elements of your composition. Take a look at how different shadow placements affect the mood and depth of your shots.
The intense highlights can bring out the details and textures of your subject. Manage highlights carefully to avoid overexposure. Readjust your camera setting and utilize additional illumination sources when needed. Apply highlights to enhance particular aspects like textures, shapes, or surfaces.
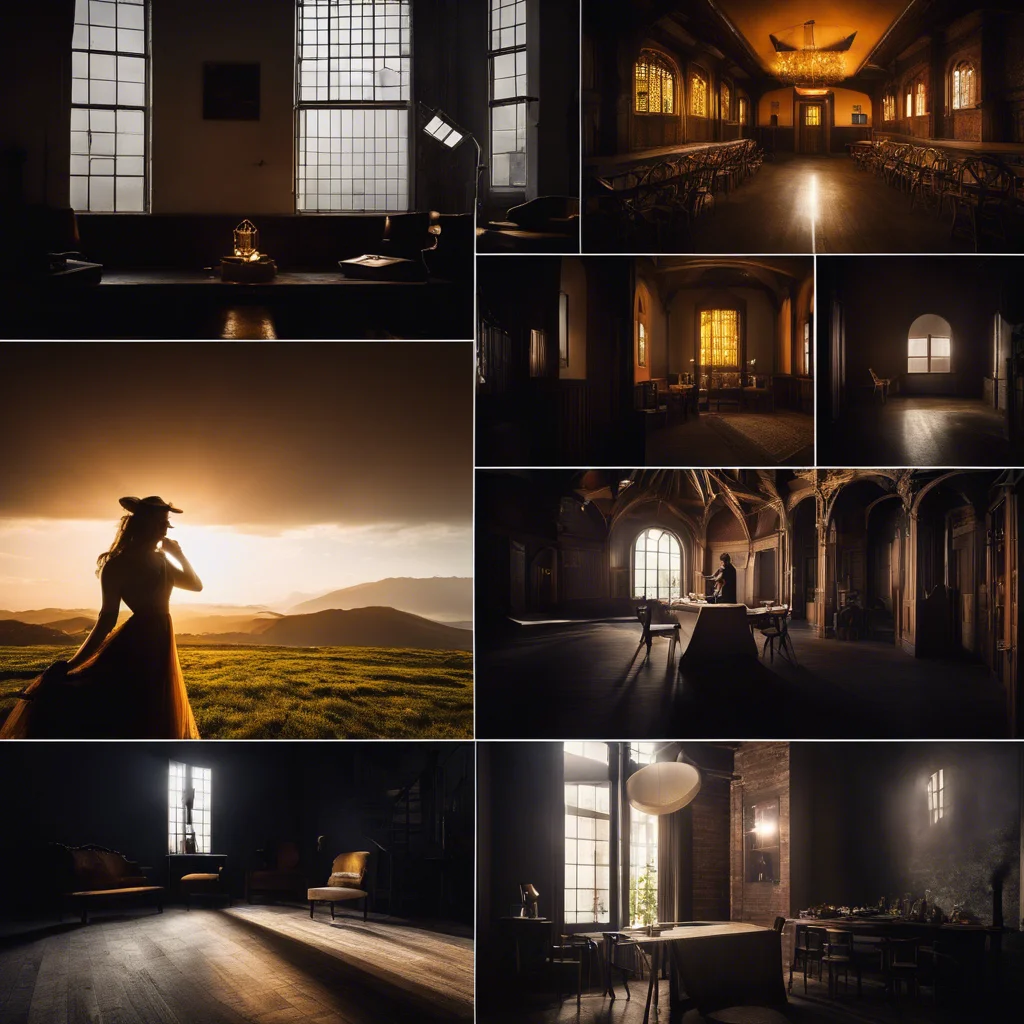
Techniques and Tips for Hard Lighting Photos
Creating Dramatic Images
There are various ways to convey drama through your shots. For instance, position the illumination source to the side of the subject to cast long, defined shadows. Emphasize the contours so your subject pops out. Consider incorporating contrast between lighter and darker areas in your composition for depth and intensity.
Common Mistakes to Avoid
One common error is not using a flag or other modifier to control unwanted spills. A flag can help block light from hitting areas of the scene that you want to keep in shadow. It provides more control over the illumination. Another mistake is overexposing your highlights. It can lead to losing details in the brightest parts of your picture. Consider bracketing to ensure you capture the full range of details. Be mindful and prevent unwanted distractions.
When to Use Hard Lighting
Photography tutorials recommend applying hard illumination to enhance textures, shapes, and contrasts. For example, in product photography, it can bring out the texture of materials. It will make the products look tactile and inspire client engagement. This technique is also used for editorials, architectural, fine art, and fashion photography. In addition, it is arguably great for creating the perfect close-ups.
Even photography styles where this technique is not normally used can sometimes benefit from it. For example, in portrait photography, position your illumination source at a sharp angle to cast shadows across the face. It will highlight the facial features, enhancing the overall moody atmosphere. This approach is used in newsletters for artistic showcases, dramatic narratives, editorials, and themed campaigns.
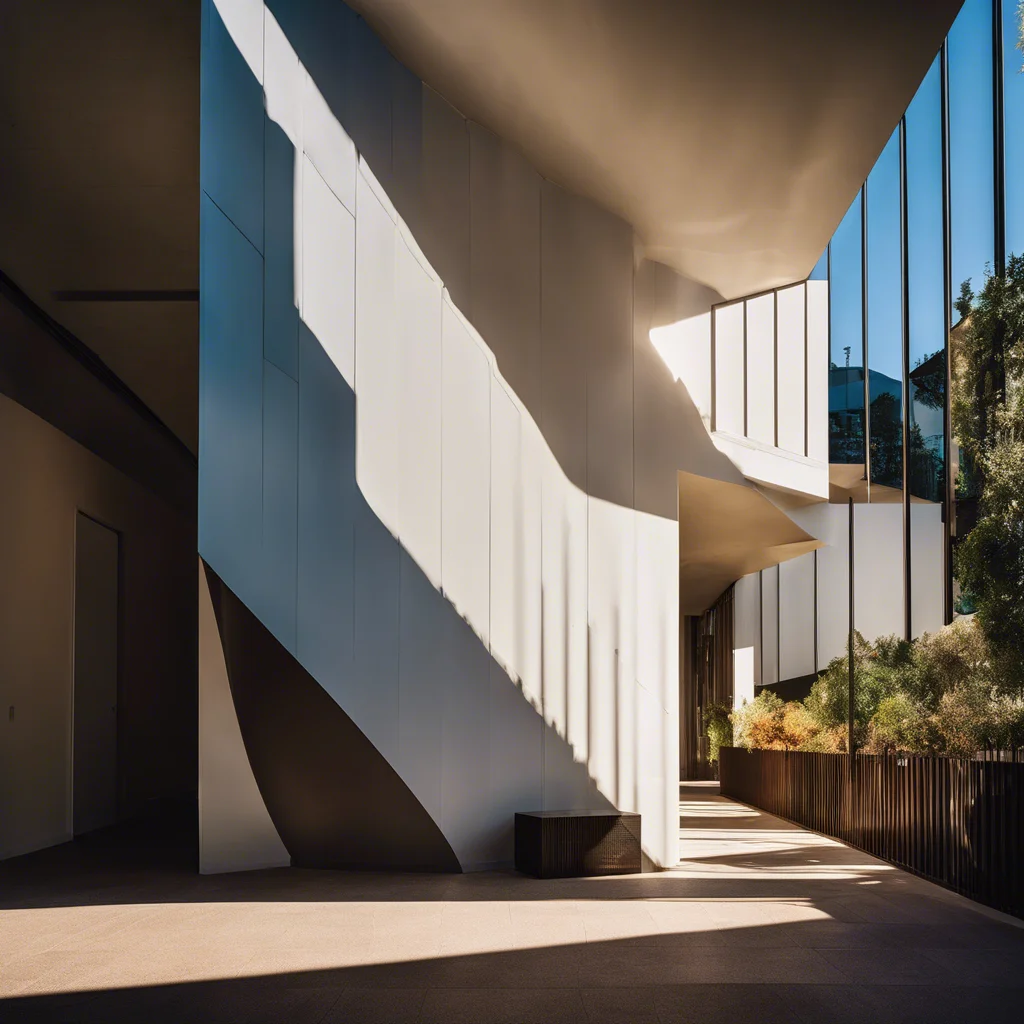
Examples of Hard Light in Photography
Iconic Pictures in History
Yousuf Karsh utilized hard illumination for one of the most uncommon genres for this technique—portraits. The contrasts look even more striking in black-and-white pictures. Karsh’s portrait of Winston Churchill is a perfect example. The harsh shadows and intense contrasts highlight Churchill’s stern expression and the rugged texture of his face.
American fashion photographer Richard Avedon utilized this technique for visually striking and highly contrasted shoots that defined the fashion photography aesthetics of the 20th century.
Helmut Newton is another fashion photographer who embraces intense contrasts and harsh shadows for provocative and recognizable visuals. Bold, graphic elements in his compositions bring out the textures of skin and fabric, allowing Newton to achieve a dramatic, almost cinematic quality.
Modern Photography Trends and Styles
Bruce Gilden used a handheld flash for his street shots. His gritty, high-contrast images capture the raw energy and emotion of urban life. The textures’ and features’ confrontational intensity makes Gilden’s artwork stand out.
Annie Leibovitz’s capture of Whoopi Goldberg in a milk bath is another example of effectively using striking contrasts in portraits. The actress’s dark skin against the whiteness of the milk makes this photo attention-grabbing, aesthetically pleasing, and intriguing.
Gregory Crewdson applies hard illumination for cinematic surrealism. Deep shadows and sharp contrasts contribute to his shots’ eerie, otherworldly atmosphere.
David LaChapelle takes a more colorful and hyper-realistic approach. His vibrant artwork is inspired by modern pop culture. The exaggerated qualities of his subjects are enhanced with direct illumination for a captivating, dreamy effect.
Final Thoughts
Why Hard Lighting is a Powerful Tool
Hard light produces sharp shadows, high contrast, and defined edges that convey a sense of drama, intensity, and focus. It is essential for visually impactful photos. This type of lighting is particularly effective in enhancing textures, shapes, and details. It works for genres like fashion, macro, architectural photography, etc.
Whether it is the tension in a high-contrast portrait or the bold lines in an architectural shot, hard light can give a photograph a sense of depth and dimension. Additionally, it can guide the viewer’s eye to the most important elements of the image.
This technique can be used for both naturalistic and surreal effects. For example, in black-and-white photography, hard illumination can be used to emphasize the contrast between different tones.
Combination with Other Lighting Techniques
Using hard illumination as the main source, combined with a softer fill light, can help to balance the strong shadows. The dramatic effect will remain, which is especially effective for portraits and visual storytelling. Use this combination if you want to preserve some detail in the shadows without losing the overall intensity.
Create a strong highlight, keeping the main illumination broad and soft. Define the subject’s edges and make it look separated from the background for the three-dimensional effect.
Mixing direct sunlight with reflected or diffused illumination in outdoor photography can help control the general contrast. Ensure the essential details are brought up in both highlights and shadows. For example, shoot during the golden hour. The sunlight is still strong but softer, warmer, and evenly spread.
FAQ
What Is Hard Light in Photography, and How Does It Differ from Soft Light?
Hard lighting creates sharp, well-defined shadows and high contrast. Soft light is diffused, wrapping around the subject and producing gentle, soft-edged shadows.
How Can I Create Hard Light in My Photography Setup?
Ensure you have the following:
- Small and concentrated direct illumination source.
- Properly adjusted camera.
- Modifiers.
- Stabilization gear.
What Are the Advantages and Disadvantages of Using Hard Light in Photography?
Advantages:
- Attention-grabbing, deep, and meaningful images.
- Highlighting shades and textures.
- Achieving three-dimensional sculpted shapes and forms.
- Effective separation of the subject from the background.
Disadvantages:
- Accentuating blemishes, wrinkles, and other minor imperfections.
- Distracting and undesirable reflections.
- Challenging to manage the quality of light. The source’s position and intensity should be controlled precisely for optimal results.
- Limits of use. This type of illumination can be applied only to certain specific photography genres and styles.
What Are Some Tips for Achieving Dramatic Effects?
- Position your illumination source at sharp angles to your subject to create deep, long shadows. It will add context, drama, and depth.
- Block light from hitting certain areas of your scene. See where the shadows fall and enhance the contrasts of certain areas of your composition. Utilizing a flag will be especially useful here.
- Focus on textures. Emphasize details in materials for tactile and appealing shots.
- Place objects between the illumination source and your subject to create interesting shadow patterns. Blinds, leaves, and other textured materials work well.
- Incorporate reflective surfaces like mirrors or metallic objects in your scene for dynamic highlights and additional points of contrast.
- Explore and master various techniques, and feel free to combine them in your workflow.