Donec efficitur, ligula ut lacinia
viverra, lorem lacus.
Shadows in Photography: Mastering Techniques & Creative Ideas
What is Shadow Photography?
Understanding Shadows in Photography
Illumination is one of the most impactful elements in photography. Illuminated and darkened elements should harmoniously coexist to create a balanced image. Many photographers love to use darker areas of their shots to direct attention and add layers to their artwork.
When light hits an object, it typically casts a shadow. This area is characterized by the absence of illumination. The main characteristics of these areas are length, direction, and intensity, which typically depend on the illumination source’s position and strength. Photographers use illuminated and obscured elements of images as the key tools for redefining their visual narratives.
Why Shadow in Photography Matters
The difference between an image’s light and dark areas is called contrast. Contrast defines shapes and patterns. The brightness variations create a sense of volume and draw the viewer’s attention to the most important elements of the picture. Moreover, darkened segments can add depth to an image and create an illusion of dimension in flat, two-dimensional shots.
Let’s take landscape photography. The long shadows cast by a low sun can enhance the texture of the ground with a three-dimensional feel. Obscured elements can also be used in portrait photography. You’ll see how they can sculpt the subject’s face and highlight their character.
Shadows Photography Definition
In photography, shadow refers to the darker area within an image caused by an obstruction of light. When used creatively, these areas can be the main compositional elements. Shadow photography means deliberately utilizing the image’s dark areas to create contrast, depth, and mood.

Key Shadow Photography Techniques
Using Light Direction and Quality for Photography with Shadows
By carefully managing the direction and quality of illumination, photographers can create obscured elements that become focal points. This approach adds depth and intrigue to their compositions.
The angle of the light relative to your subject is crucial. Side lighting produces the most pronounced obscuration. Position the key light source at an angle to the subject to achieve it. During the golden hour, natural light darkens certain parts of your image softly. This smooth darkening greatly affects architectural photography and landscapes. This approach can effectively enhance intricate details.
Front lighting illuminates the subject directly. Don’t be afraid to use it if you want to showcase your subject without distractions. Conversely, positioning the illumination source away from the subject or at a lower angle can darken a bigger segment, adding drama and mystery.
Studying light types is paramount to succeed in this type of photography. Hard light is characterized by direct, intense illumination. When shooting outdoors, it can be achieved with studio lighting equipment or harsh midday sun. Understand the inverse square law and learn to apply it in your workflow. The illumination intensity decreases rapidly as the distance from the source increases. Control the harshness of outlines when using hard illumination.
Soft illumination can be achieved during overcast days or with light modifiers in the studio conditions. Minimizing the contrast ratio between the illuminated and darkened areas makes the transition between them smoother.
Exploring Shadow Lighting Photography
Place the key light source behind your subject to produce dramatic silhouettes against a brightly lit background. Strip your subject down to its basic shape, letting viewers focus on its form without distractions.
Locate the main illumination source at an angle behind the subject. The rim lighting creates a glowing outline that highlights the edges while leaving the rest of the subject in the dark. This technique is especially beneficial for capturing portraits.
Use obscured elements to define negative space. The dark areas can shape the empty or open segments around the subject to guide the viewer’s eye toward the focal point.
Mastering Shadow Portrait Photography
In portrait photography, shadows sculpt the model’s face. For example, Rembrandt lighting positions the key light at a 45-degree angle from the subject. A distinctive triangle of light on one cheek is created. The rest of the face is hidden in the dark. This method draws on chiaroscuro principles. The contrast between light and dark creates moody and introspective images.
A higher light-to-shadow ratio creates more dramatic contrasts, ideal for a mysterious or intense look. A lower ratio softens the image, lending it a more delicate and approachable feel. Consider the light source position for indoor photoshoots. Mind the time of the day for natural conditions.

Creative Ways to Use Shadows in Photography
Creating Drama and Mood
Obscured elements can add a layer of emotional depth to your images. For example, when photographing a subject, you can focus on dark areas to obscure parts of the scene. Leave just enough visible to intrigue the viewer. This technique is particularly effective in low-light situations or when using one light source.
You can manipulate the contrast ratio more effectively by intentionally underexposing parts of your image or adjusting the ISO to control the amount of light reaching your sensor. This approach is especially useful in black-and-white photography, where the absence of color directs all attention to textures and shapes.
Leading Lines
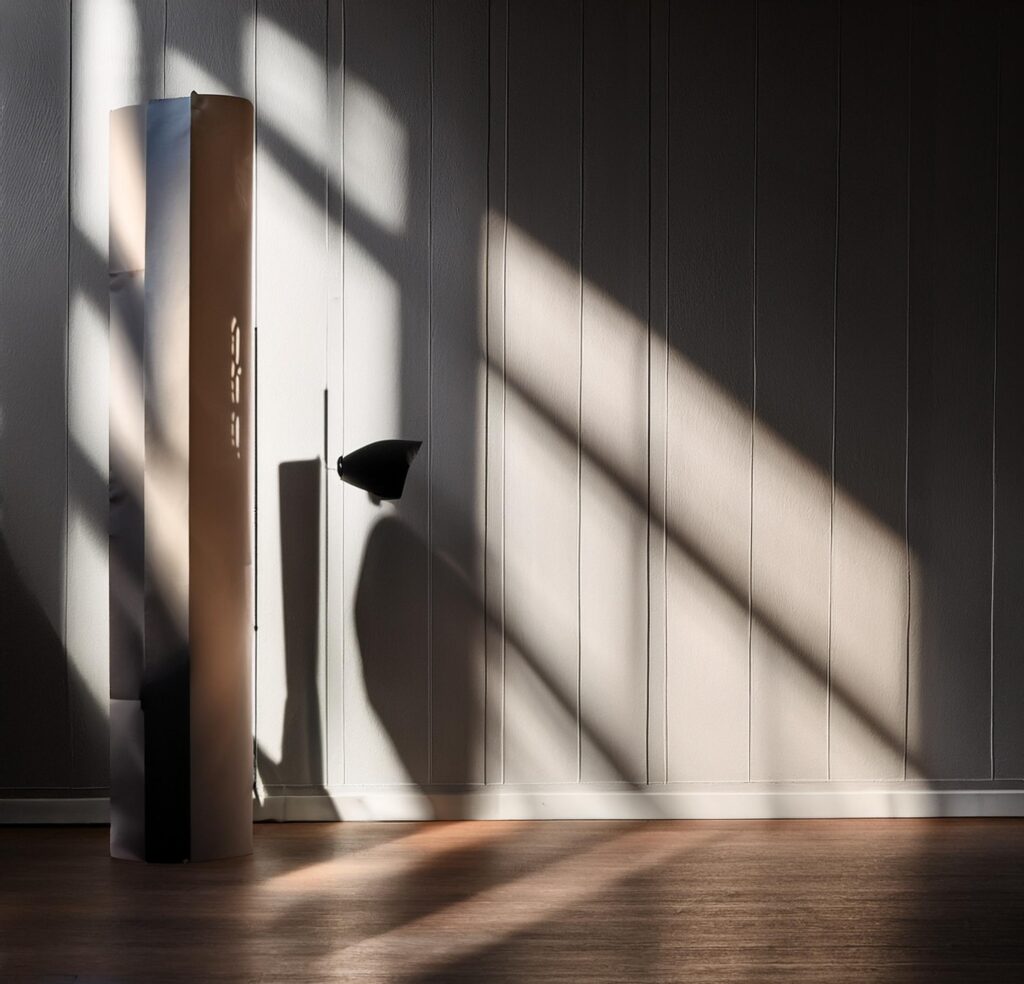
The darker parts can be natural leading lines, guiding your viewer’s eye where you want it to be. Strong, directional light can form long dark lines across the scene, particularly in landscape and architectural photography. Positioning your camera to align these lines with the rule of thirds will let you achieve balanced and dynamic shots.
Framing Your Subject
The obscured parts of your image can create a border around the subject. It will outline and isolate your main subject from the background, catching the audience’s attention. Everyday objects like window blinds, tree branches, or even a person’s hand can be used to darken certain parts of the image and form natural frames.
Regarding the illumination source position, direction and intensity of light. A narrow light source can help create a sharp, defined frame around the subject, while a broader light source can be used to encircle the subject softly and gently. Additionally, using one light source to cast the frame can simplify the setup and give you greater control over the final image.
Portrait Photography Tips and Examples
Obscure certain parts of your model’s face and highlight the other. For example, you might position your subject so that the shadow of a window pane falls across their face, obscuring one eye while highlighting the other. This trick will add a sense of mystery and attract your audience’s attention to specific details.
Incorporate unique shadows into your portraits. Shadows cast by everyday objects, such as lace fabric, plants, or geometric patterns, can add texture and interest to the image. A dynamic interplay between light and dark will enhance your visual narrative. Experiment with different lighting setups and shadow patterns for beautiful and thought-provoking contrasts.

Post-Processing
Dodging and Burning
These photo editing techniques allow you to lighten (dodge) or darken (burn) selectively specific areas of your image in post-processing software. You can use the burn tool to draw more attention to the obscured elements in your photo. It will darken them further. Light dodging can help you bring out some more subtle details. Precise manual control will let you enhance specific parts of your photo without affecting it as a whole.
Ensure your pictures look natural and maintain their original integrity. Prioritize non-destructive editing. If it is not included, export the original files to your inbox. Revisit and compare different versions of your edited image. Provide adjustments cautiously and precisely.
Enhancing Contrast
Identify the main subject in your composition. Consider background replacement tools of your photo editing software at this stage. This type of photography usually works with dark focal points. Utilizing bright or neutral backdrops can effectively highlight the main subject’s shape and texture.
Adjust the tone curve to control the brightness and contrast of specific tonal ranges in your image. Creating an S-shaped curve can deepen the shadows and brighten the highlights. Photo editing tutorials particularly recommend this type of curve for black-and-white pictures. The curve should be subtle to prevent a loss of detail in the dark or bright areas.
Adjust the clarity levels. Boost the mid-tones and create a more balanced contrast. Filters and presets can be a perfect starting point. Tweak the settings to suit your specific image. Customize filters to your taste and ensure your picture is not overwhelmed.
Making the Shadow the Main Subject: Using Post-Processing Creatively
Post-processing allows you to creatively manipulate obscured parts, turning them into the focal points of your photos. One way to do this is by selectively desaturating or blurring parts of the image. Keeping the outlines sharp and crisp will make them more visually compelling. This trick works for fine art and conceptual photos with unusual patterns and shapes.
Inversion, when light areas become dark and vice versa, is another effective technique for conceptual and fine art photography. It aims for surreal and abstract looks. Adjust the level of curves to make your shots more striking and unconventional.
Adding a cool or warm tint to the shadows can change the emotional tone of the image. Depending on your creative goals, experiment with color grading to make your picture more inviting, gloomy, or mysterious.

Unique Creative Examples of Shadow Photography
Iconic Images
In Man Ray’s “Le Violon d’Ingres” (1924), obscured elements create a captivating optical illusion of a violin’s f-holes on a woman’s skin. This trick highlights the subject’s form and blurs the lines between real and imaginary concepts, which is typical of Ray’s surrealistic style.
In “Behind the Gare Saint-Lazare” (1932), Henri Cartier-Bresson captures a fleeting moment. The attention is attracted to the silhouette of a man leaping across a puddle. This dark figure becomes integral to the composition. This approach let the father of modern photojournalism achieve tension without ruining the overall balance.
In “Moonrise, Hernandez, New Mexico” (1941), Ansel Adams uses the long shadows cast by the setting sun. The striking contrast between the bright sky and the darkened earth made the composition serene yet powerful.
Yousuf Karsh’s portrait of Winston Churchill (1941) is another example of creative manipulation of lightened and darkened areas. The contrasts are more vivid in a black-and-white picture. The intensity of Churchill’s gaze immediately catches the viewer’s eye, conveying the message of resilience.
In his series “Genesis,” Sebastião Salgado manipulates contrasts between the rugged textures of mountains, icebergs, or desert dunes against the smooth, expansive skies. This approach lets the photographer achieve a visual impact. It provides a sense of scale, impressing the viewers with the grandeur of natural wonders.
Photography Examples: Inspiration and Ideas
Silhouettes at Sunset
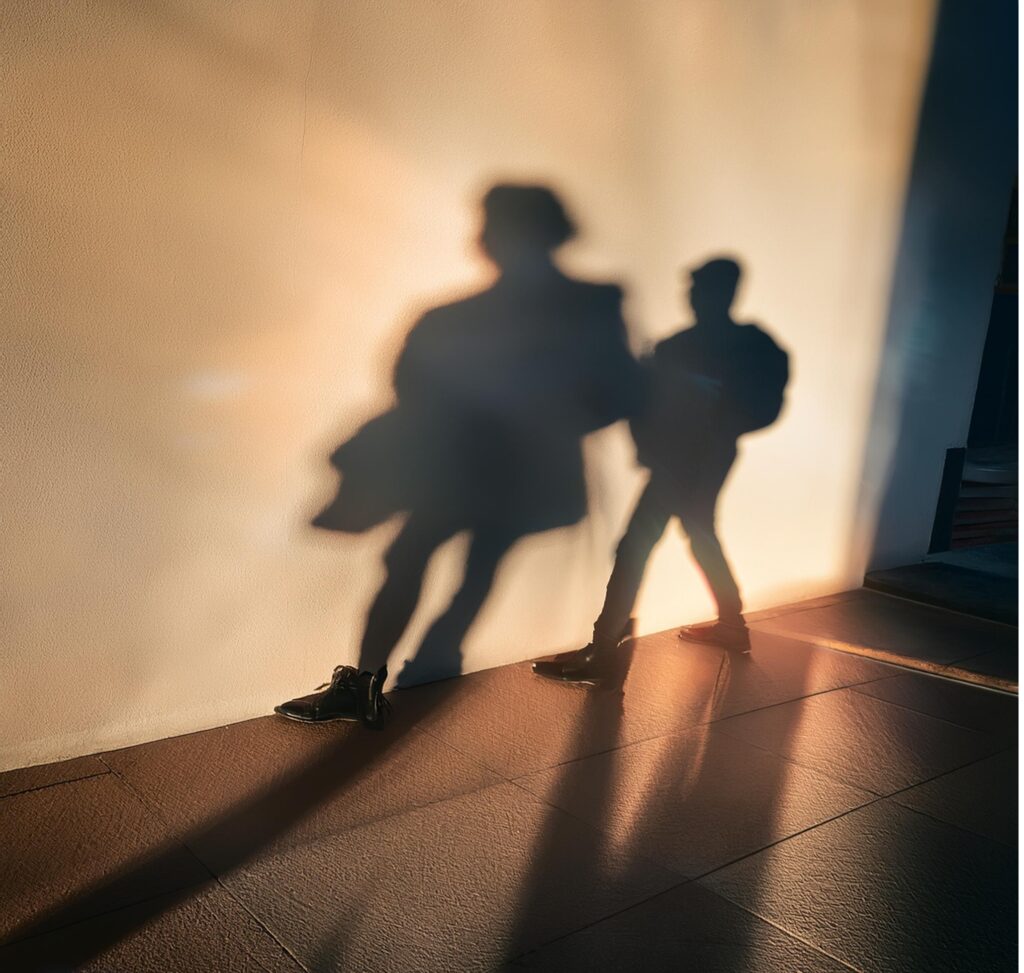
Position your subject against a strong light source, such as the setting sun. Adjust the exposure settings to highlight the shadows while darkening the model’s face, landscape, or cityscape you aim to capture.
Abstract Patterns
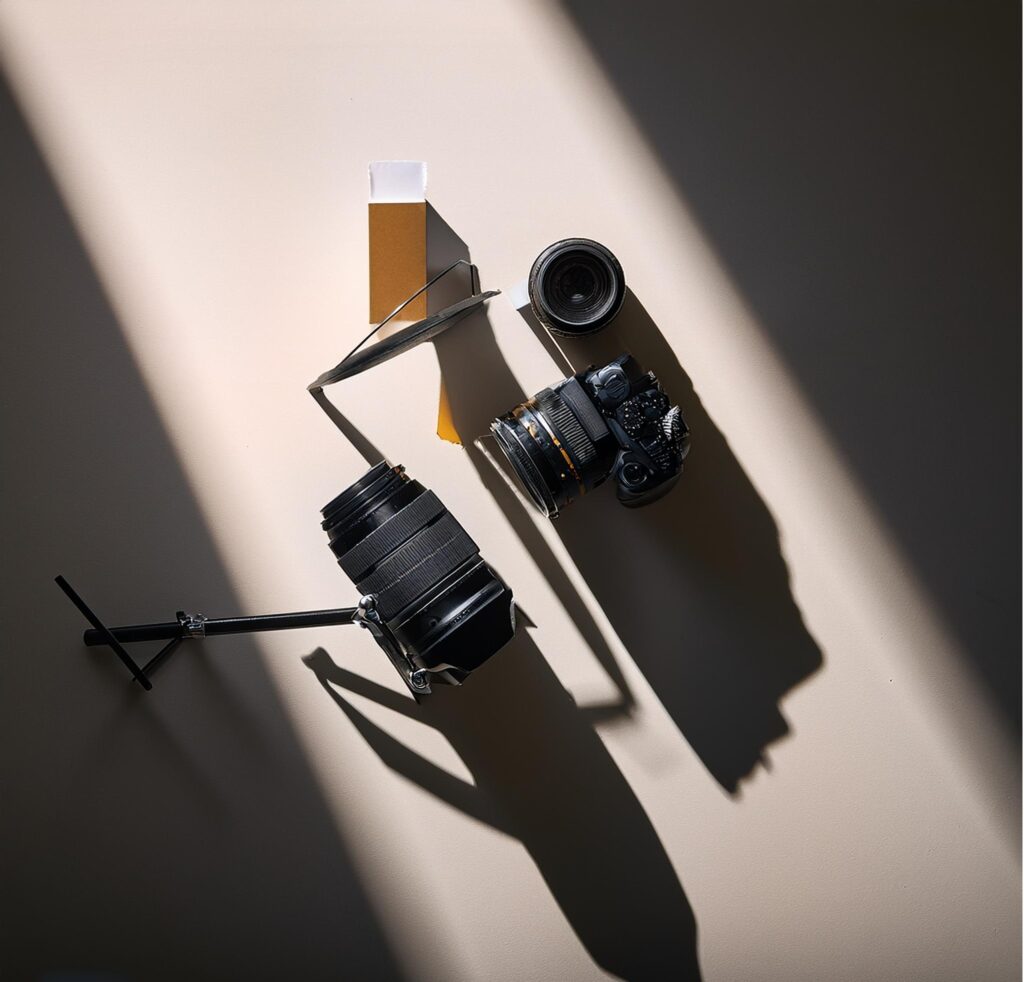
Look for objects with intricate designs, like lace curtains, plant leaves, or even a mesh basket. Shine a light through these objects and capture their shadows on a flat surface. It will make your artistic imagery more intriguing.
Urban Settings
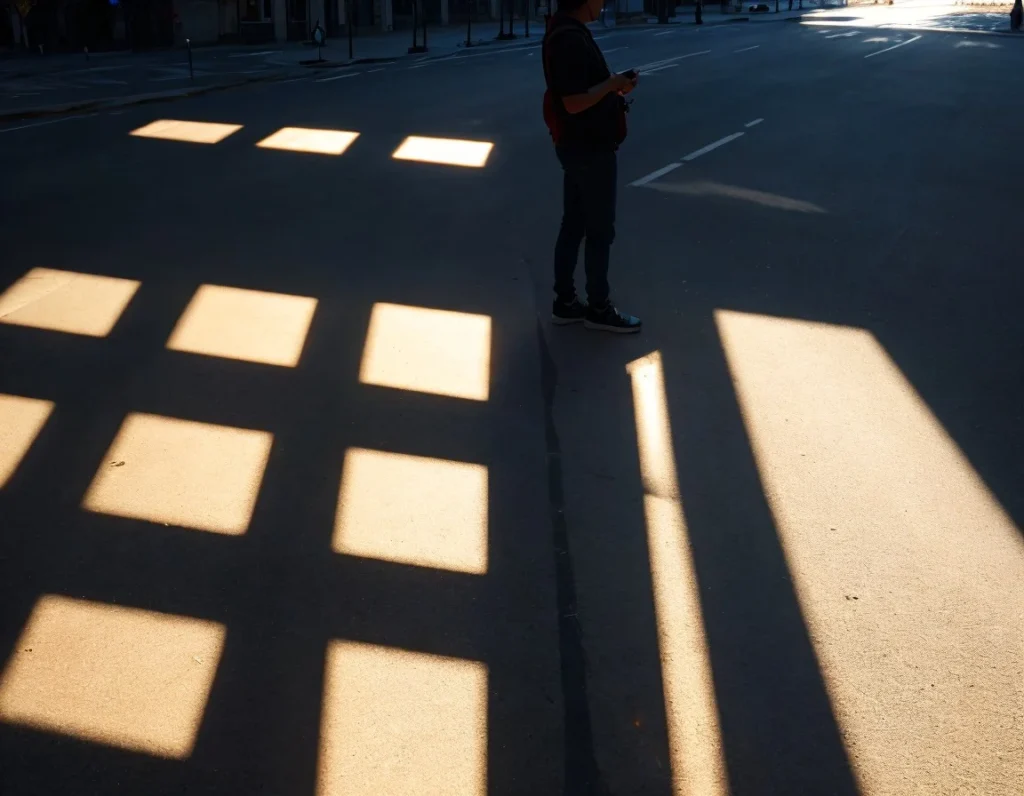
Street photographers can use outlines to create compositions emphasizing geometry, rhythm, and movement. Try focusing on the shadows rather than the subjects themselves. Capture the play of light and dark as your subjects move through the frame.
Reflection
Combine obscured elements with reflections in environments with water, mirrors, or glass surfaces. Challenge your audience’s perception and make your photographs multilayered.
Chiaroscuro Portraits
Use hard, direct light and vivid contrasts. Place your model so that part of their face or body is illuminated while the rest falls into shadow. This will emphasize the facial contours and convey deep, emotional messages.
Conclusion
Experimenting with light and dark can lead to some truly captivating images. Shadows convey emotions and guide the viewer’s attention. They add an additional layer of meaning to your photos. Whether you are a pro or a beginner, you can use shadow photography techniques for lively and dynamic shots. Dark areas can add a sense of mystery, tension, or tranquility.
Shadow photography’s versatility means it can be applied across various genres. It is actively used in portraiture and landscape photography. Street photographers and abstract artists also have these techniques in their toolkits. Step outside your boundaries and adapt to different shooting conditions. Instead of avoiding harsh light or dim settings, embrace these challenges and utilize them creatively. The more you experiment, the more you will discover how shadows can enhance your photographic style and help you tell more powerful stories.
FAQ
What Role Do Shadows Play in Enhancing Photography Composition?
The power of shadows in photography lies in their ability to add depth and dimension. Shadows can define shapes, emphasize textures, and create contrast. They guide the viewer’s eye through the frame. Shadows can also be used to balance the composition.
How Can I Use Shadows to Create Dramatic Effects in My Photos?
Strong direct lighting, backlighting, and low-angle lighting should be prioritized. These lighting techniques help create long, deep shadows. Enhancing the contrast in post-processing can further amplify the sense of drama, scale, and mystery.
What Are the Best Techniques for Shadow Photography?
Mind your camera settings, especially ISO and exposure. ISO can help reduce noise in the darker areas of your image, preserving the detail in shadows. A slight underexposure makes the obscured elements richer and more defined.
Learn to manipulate the angle of the light relative to your subject. It can change the intensity and shape of shadows. Familiarize yourself with post-processing tools. Start with basic contrast enhancements. As your photo editing skills elevate, integrate advanced techniques like dodging and burning into your workflow.
Pay attention to how light interacts with common objects. Look for scenes where shadows create a sense of depth or movement. Observe how shadows change throughout the day. Experiment with different angles and perspectives.
Utilize contrasting textures or patterns. Smooth surfaces juxtaposed with rough or intricate details can create visual interest. Additionally, you can experiment with contrasting shapes or forms. Try to place geometric objects against more organic, flowing shapes.
What Impact Do Shadows Make on the Mood of a Photograph?
Long, soft shadows cast during the golden hour can create a warm, nostalgic mood. Meanwhile, harsh, angular shadows suggest tension or isolation.
What Are Some Creative Ways to Incorporate Shadows in Portraiture?
When shooting portraits, dark areas can be used creatively. Use Rembrandt lighting and chiaroscuro portraits to highlight the drama. Use obscured parts as frames for your subject. Additionally, shadows from everyday objects like window blinds or tree branches can be incorporated to add texture and dynamism.